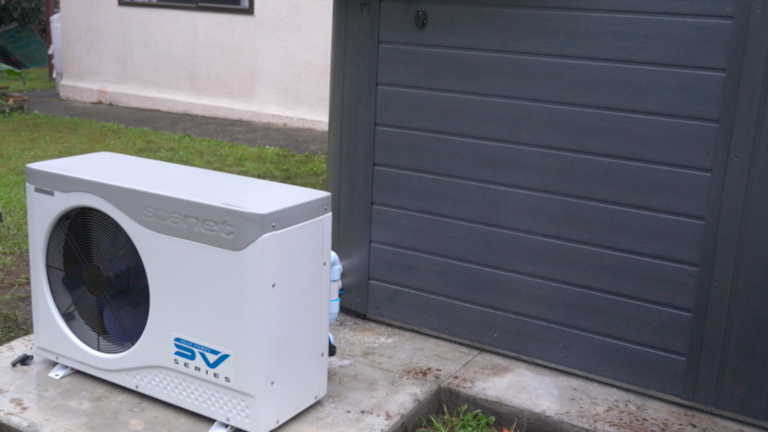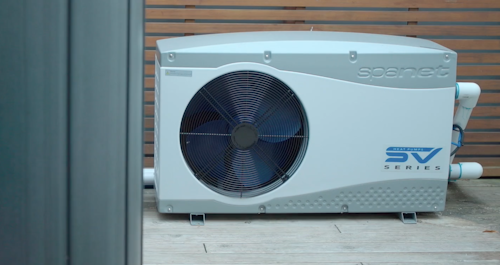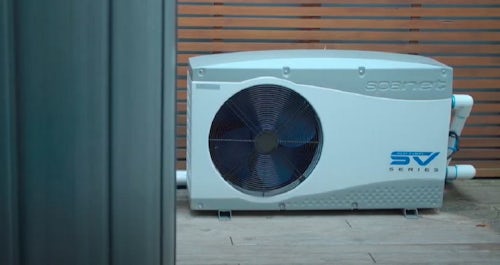
Are you upgrading your spa with a SpaNet™ SV Series heat pump? This detailed guide provides everything you need to know about installing your SpaNet™ SV Series heat pump, from preparation to setup, ensuring optimal performance and efficiency.
Key Takeaways:
- Key pre-installation requirements and considerations.
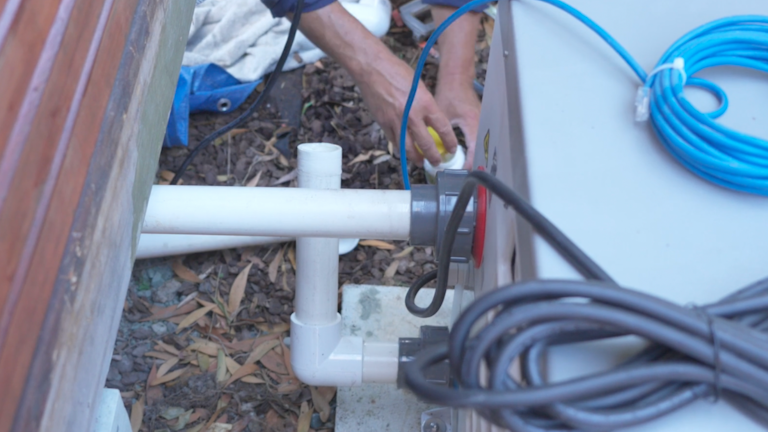
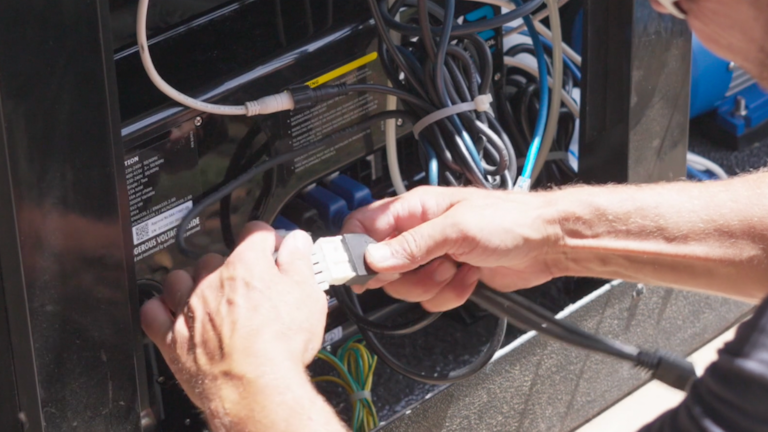
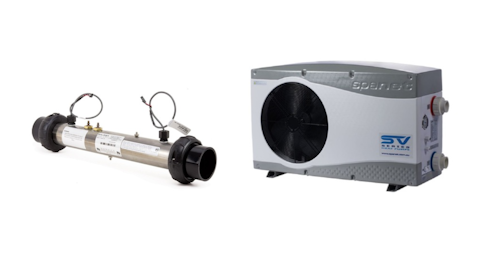
- Step-by-step instructions for SV Series heat pump installation.
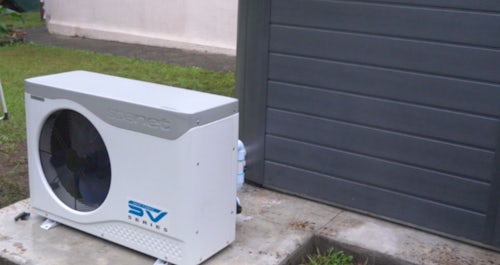
- Expert tips on positioning and clearance for peak performance.
- Information about Spa World's professional installation service.
Important Reminder: All electrical work must be conducted by a licensed electrician. Any electrical instructions provided here are for licensed professionals only. Always adhere to local electrical codes, which supersede any information in this guide.